 As a follow up to “Top 10 Reasons to Cut the Crap and Go Minimalist”, today I will guide all of you through the daunting process that is “cutting the crap”.
Though it may seem like a pretty simple concept (certainly not worthy of a how-to), I found that when I made the decision to go minimalist, I could not find enough written material to assuage my fears of getting rid of my precious “stuff”. How did others do it? Were they able to survive minimalism? What happened when they got rid of something that they couldn’t live without? These questions plagued my thoughts all afternoon, and Google presented no solid advice on how to overcome this fear. So, faithful readers, let me guide you step by step through the valley of the shadow of clutter, and offer up a promise that if you embrace it, minimalism will be the best decision you ever made.
Step 1: Though I whole-heartedly encourage entire house minimization, I recommend tackling only one room at a time. So jump right in and choose the room you want to start with. Now that you’ve decided, your first order of business is to look around the room and cogitate on what you can get rid of. Nothing gets a free pass here – EVERYTHING must be evaluated and worth it’s salt if it is going to stay.
Step 2: Make a big trash pile. Now is the time to get cutthroat. Start putting anything you can bear to part with into a large pile in the middle of the room. The goal here is to get as close to nothing in the room as possible. Look to your caches of knickknacks and books. These are big ones that take up a lot of visual emphasis and instill acute claustrophobia in your inner minimalist.
Step 3: Make a bigger trash pile. Trust me when I say that your first pass is not even close. Now that you get the gist of how this works, do it again, and be a little more heartless about it! Think about the vertical surfaces – do you have a lot of posters, photos, or god-forbid more knickknacks cluttering your walls? It’s all got to go! Also try to get everything off the floor. In a minimalist home, you will never see things stacked or piled on the floor. The only thing that should be on the floor is the furniture!
Another place that useless items like to hide is inside of things: cabinets, boxes, etc. As I said earlier – everything must be evaluated. If you think it won’t matter what is inside of your television cabinet, think again. These hidden spaces will serve you later when you have items that you cannot possible part with, but don’t exactly jive with the minimalist aesthetic.
Step 4: Evaluate the big stuff. This is the step that will separate the true minimalists from the posers, mainly because of the financial commitment. Now is the time to look around and determine which pieces of furniture are hindering your quest for simplicity.
If you’ll let me digress for a few paragraphs, I’ll explain two of the biggest challenges that my husband and I confronted when converting to minimalism – the sofa, and the custom-built entertainment unit.
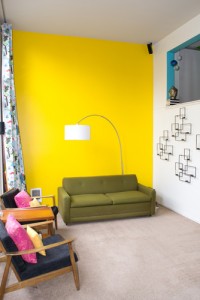
The sofa – after laughing in the face of steps 1–3, we came to step 4 and the conclusion that our iconic red sofa just wasn’t working on our newly minimized living room. While sitting at the counter and casting sidelong glances at this herculean-sized transitional monster we both tiptoed around the conversation, neither wanting to be the one to say “Should we sell it?”
The sofa was such a big deal for us because we had purchased it brand new just two years prior. Was minimalism just a passing phase? Would we regret getting rid of our first piece of furniture as a married couple? So before we could bear to part with it, we pushed the beast into the kitchen and tried living in our home sans sofa. We discovered that we loved it and promptly sold the sofa.
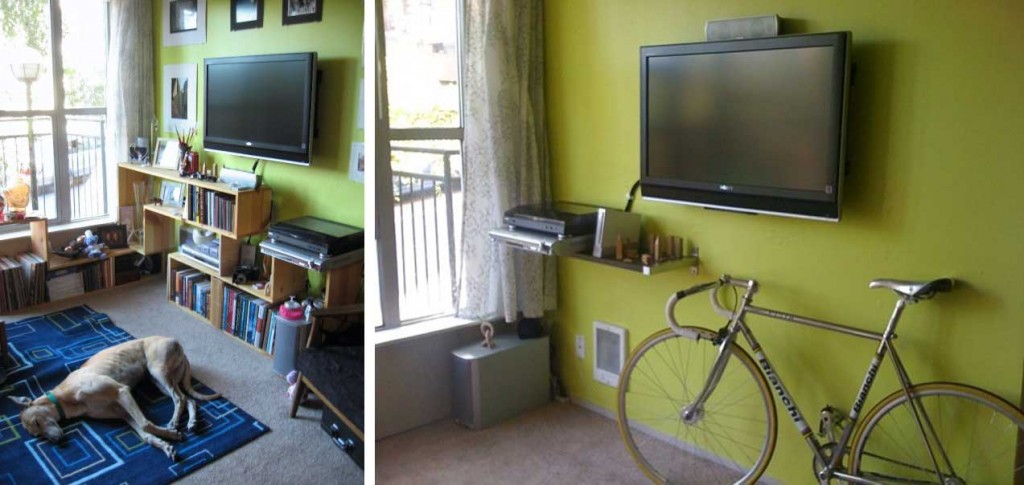
The entertainment unit – Like any special piece of furniture, this West Elm inspired modular shelving system has a great story. As with most of my projects, the entertainment unit manifested after months of studying the spec sheets online, and examining all the types of nice-grade wood at Home Depot. I had finally convinced JT to build it for me, and needless to say, I thought I could do it better. So after this project (that nearly caused the collapse of our relationship), there was an unwritten rule that this shelving entertainment unit was going to be with us for the rest of our lives. You can imagine our collective unease when minimalism challenged whether keeping the shelves was the best decision.
Like the sofa, we disassembled the shelves and hid them out of sight to test what life would be like without our first attempt at home built furniture. We certainly preferred a single shelf to hold our entertainment system and record player, but let me tell you, those shelves hid behind the refrigerator for six months before we could bring ourselves to part with them!
So back to Step 4 – yes, this is the scariest step of all, and will challenge your determination to become a minimalist. As someone who has already lived through the emotional upheaval of parting with something I paid a lot of money for, I can say that I haven’t regretted it one bit.
Did we remain without a sofa? No. Do I regret getting rid of the sofa in the first place? Absolutely not! Yes, I paid for a gently loved sofa in the end, but in the process, I learned a lot about what is important to me, and also acquired a stunning mid-century modern sofa (with a sleeper bed for my overnight guests).
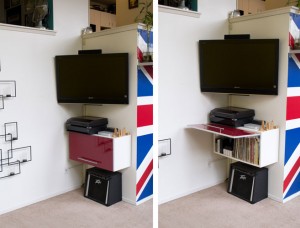
Step 5: Hide stuff. Now that you’ve gotten rid of everything you can possibly bear to part with, you will inevitably still have a few hangers-on. This is where cabinets come in handy. Take everything you can, and get it out of sight. In my new place, I installed a single cabinet that I use for my entertainment unit – this is great! I put my collection of LP’s in there, along with the four hard drives of media, allowing me to hide a lot of things that I must have, but would otherwise look suspiciously like clutter.
Step 6: Take a few days off. After all the energy spent sorting, organizing, selling, and giving away all of your stuff, it’s time to take a few days off. Give yourself time to adjust to your new surroundings. You will be surprised to find that after a couple of days, you will start to notice some more things that you can get rid of.
Step 7: Don’t stop! Once you’ve gone minimalist, it’s a constant battle to stay that way. Every few months I find myself going through my stuff and tossing or selling things that I haven’t used. This process has become almost therapeutic, and I feel much better after my quarterly clutter exfoliation.
I hope that this article has helped to alleviate some of your concerns and fears about going minimalist. The bottom line is, when in doubt, throw out. Thanks for reading — please feel free to share or re-publish, but give me credit for my work when you do!


2 comments
June 5, 2014 at 7:43 am
You are so lucky your hubby agreed with you. I love being minimalist, though. I wake up happier — it’s the hubby I’m not so sure about.
June 6, 2014 at 12:16 am
Hi Brenda!
Yes, I am very fortunate in the hubby department, after 8 years he just sort of goes with what I want to do with the house! Though i have to admit that I didn’t offer much choice on the minimalism — one day I saw a great photo of an apartment with only a bed and a bicycle in it, and when he came home that afternoon, most of our stuff was on the floor or in boxes to be taken away! I definitely find that less physical clutter equals less mental clutter for us both, and gives more room for the pups to frolic!
Cheers,
Amy