How to Make a Sustainable Minimalist Calendar for Under Five Bucks
26 Sunday Feb 2012
If you are anything like me, your calendar is packed so full of backgammon tournaments, fundraising galas, and all-expenses paid international expeditions that it can become difficult to keep the days straight. However, there is that one teensy issue that most calendars are hideous, and will immediately take that stunning minimalist home of yours down about five notches on the chic scale — so what’s a designerly social butterfly to do? Take a cue from this week’s post, and fashion your own beautifully minimalist calendar!
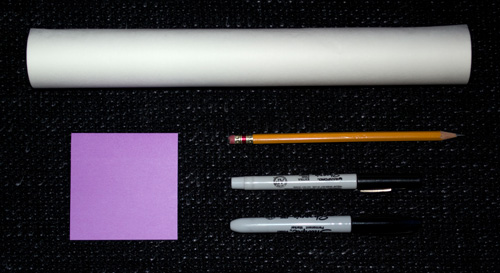
Tool Belt:
- Fine Point Sharpie
- Regular Point Sharpie
- Pencil
- Tracing Paper
- Your favorite font
- Transfer Paper (if you have any, but it’s not necessary)
Required Available Funds:
- $5.00
Shopping List:
- 2 Packs of Post-it notes in colors to complement the room in which you plan to use the calendar
Get Down to It:
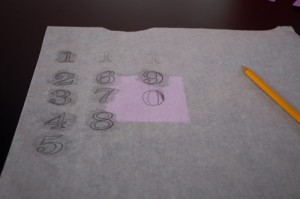
Step 1: As you are a good little diy-er, I expect that you already have your favorite font picked out, so the first step is to create your trace sheet. I would imagine that most other people endeavoring to create this calendar will be more high-functioning than myself and have a printer with ink in it. Should that be the case, size out your font and type all the numbers from 1–31, and print in a size that looks good centered on a Post-it note (my numbers are about 1.25″ tall). For those of you that are low-functioning members of society and have a printer, but no ink (or maybe no printer at all…), simply size up the font on your computer and trace it onto the trace paper (just the numbers zero through nine, you can pair them up when you transfer them).
Step 2: Transfer the numbers to the Post-it notes. This is where the transfer paper comes in handy. If you have it, simply place it between the printed page and the Post-it, and trace the number. If you do not have transfer paper, no worries, just scribble a bunch of graphite onto the back of the page where the numbers are, and then trace them onto the Post-it notes. When you are tracing the numbers, be sure to check that they are straight and centered in the Post-it or all your efforts will be wasted because it will look stupid.
Step 3: Trace the transfers with the Sharpie. Use your fine point Sharpie to outline all the numbers you just transferred to the Post-it notes. Once you have them outlined, color them in with the regular point Sharpie. Be forewarned — your hands will be cramped and you will kill a lot of brain cells by the end of Step 3.
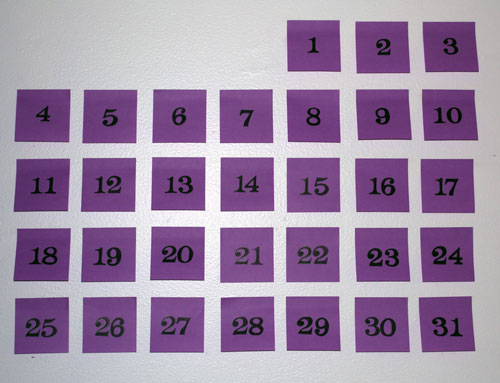
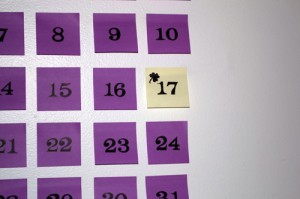
Step 4: Stick it to the wall.* I like to use a straight edge to make sure all the Post-it notes are aligned. Check the calendar, and put up the dates accordingly. The fun thing about this calendar is you can stick it up in a standard calendar format as shown here, or you can play around with it. If you have a long linear space, it could be fun to line up all the Post-it notes side by side. Get creative, because you’re the only one who has to understand how to read it!
* You will find that after a few days the Post-it notes start to fall off the wall, I usually just put some double-sided tape on them and they hold up just fine.
Step 5: Add holiday Post-it notes. I like to use a different color Post-it note for the holidays, and just make an extra Post-it for whichever date the holiday falls on.
Step 6: Change it each month. The great thing (and sustainable thing) is that you only have to make this calendar once — each month just move the Post-it notes around!
Pretty simple stuff, but it looks pretty spiffy once it is all finished. So kiss your kitschy hobby calendars goodbye and step up to a more beautiful way of keeping track of all your dates! Thanks for reading — as always, please feel free to share my work, just please give me credit when you do. Cheers until next time!

