How to Make an Apparatus to Prevent Unintentional Consumption of Recipe-Destined Food Stuffs — or — How to Paint Your Own Chalkboard!
29 Sunday Jan 2012
 It’s a bit of a catch 22. If I title the post “Paint Your Own Chalkboard” I will undeniably undermine the statement “stunningly creative”. However, if I title it something witty such as “Apparatus to Prevent Unintentional Consumption of Recipe-Destined Food Stuffs” it is likely that someone searching for how to paint your own chalkboard will never have the pleasure of my delightfully engaging prose. So instead, I will provide my faithful readers with this Everyday Modern “Choose Your Own Adventure”.
Title crisis averted, I will jump headfirst into this post with a link to my good friend Martha Stewart’s website, as she has an excellent recipe for creating “chalkboard slop”. See Marty’s recipe here. So why, might you ask yourself, am I posting about this if there already exists a how-to? Because anything Martha Stewart can do, I can do better! Let me show you how:
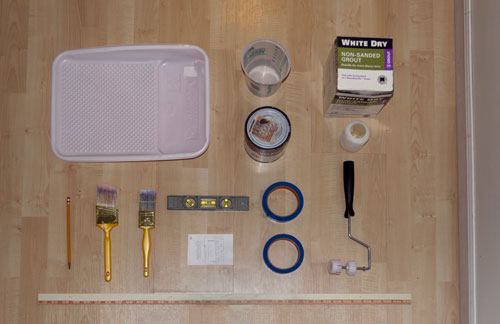
Tool Belt:
- Bucket
- Paint Tray
- Level
- Yard Stick or Straight Edge
- Paint Brush
- Paint Roller
- Drop Cloths
- Pencil
Required Available Funds:
- Paint and Supplies: $25.00
Shopping List:
- 1 Quart of flat paint, (it can be any color, but darker colors are best if you want to be able to read what you write on the chalkboard)
- 2 Paint tray liners
- 1 Package of non-sanded Grout
- 1–2 Rolls of masking tape (it depends on how big your chalkboard is)
- 1 Paint roller cover
Get Down to It:
In an effort to prevent my avid readers from developing browser-tab-flipping-induced-carpal-tunnel, I have integrated Martha’s method with my enchanting commentary.
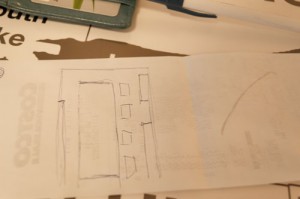
Step 1: Design your chalkboard! Okay guys, it’s pretty obvious that if you want to be a total square, you can just tape off some variation of a rectangle and paint it black. However, since you’re visiting Everyday Modern, it is clear that you have a deep-seated need to visually entrance every unsuspecting visitor who enters your home. So, let’s have a quick chat about how to be a little more rogue.
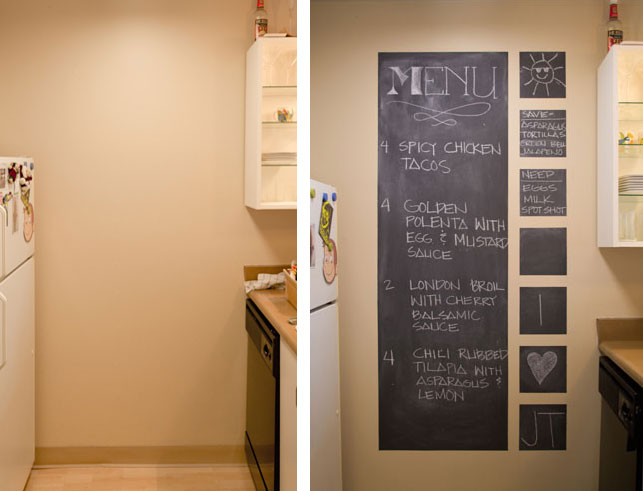
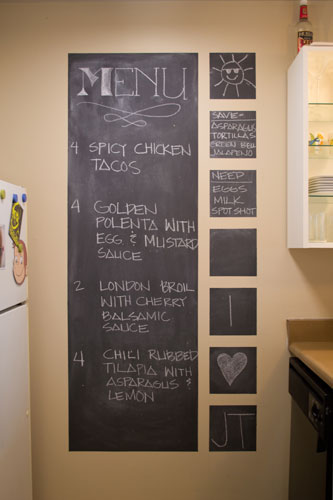
Employ some creativity. The chalkboard featured here draws inspiration from a film strip and adds a little bit of flair by incorporating separate spaces for sketches, or lists, or notes to your co-habitant. I did another chalkboard that overlapped with brightly colored painted squares adding some asymmetric balance to the typically symmetrical bedroom look. Have fun with this part, sketch it out and try some different ideas — if it looks terrible, you can always paint over it!
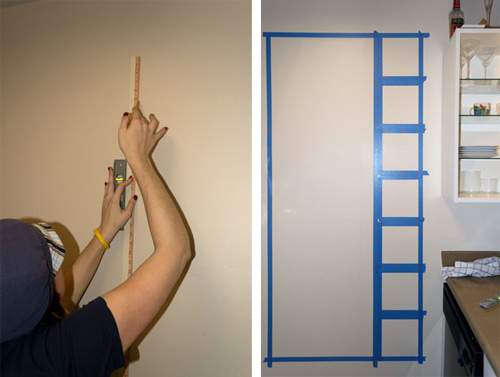
Step 2: Measure and tape it off. Pretty self-explanatory here — once you have your design, pencil it onto the wall. A word of caution though — I have yet to live in a dwelling with square ceilings and plumb walls, so do not use your walls, ceiling, or floor to measure from when anticipating a straight line. Grab your level and yard stick that you have so neatly laid out, and use that to draft your design. Once you have everything penciled on the wall and the scale looks good, tape it off with masking tape. I usually go over the inside edge of the masking tape with a bone folder just to make sure the lines are crisp and clean. Be sure to watch those corners where the tape overlaps, those are magnets for paint bleed!
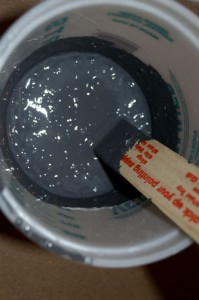
Step 3: Make the chalkboard slop! For every 1 cup of paint you think your project will require, mix in two tablespoons of grout (your bucket will come in handy here…). Mix enthusiastically, taking care to eliminate as many grout clumps as humanly possible.
Step 4: Paint! I have found that rollers work just fine with Chalkboard Slop, so roller on. Once you get the first layer on, you will notice that there are these grubby little texture blobs all over the wall. That would be the grout clumps that you failed to fully disintegrate despite my dire warning in Step 3.
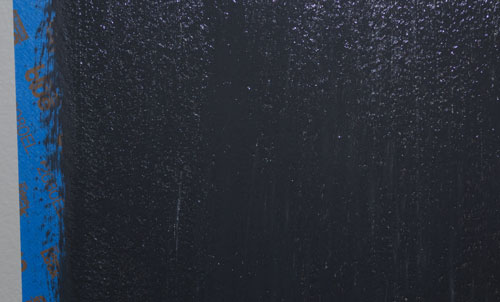
Have no fear, because you are visiting Everyday Modern and not some aqua-hued mega-corporation’s website, I will tell you how to fix that! This is where your brush comes in handy. Dip it in the paint and quickly brush over the entire surface of the chalkboard (the ensuing streaks are perfectly normal). Obviously this needs to be done right after rollering or your blobs will be permanently affixed to the wall. Complete coverage requires two coats to eliminate the grout streaks. Once the first coat dries, paint over with a thin secondary coat.
Step 5: Step 5 is where Marty and I differ on our opinions. Miss Stewart will advise you to lightly sand the entire surface with 150-grit sandpaper after the paint has fully cured. The ugly truth, is that “lightly sanding” will reveal all of the imperfections in your drywall by removing the paint from any high-spots, leaving delightful drywall-colored discs in the middle of your chalkboard. More to the point, sanding is completely unnecessary because the chalkboard feature of the paint mix works just fine sans sand. So do yourself a favor and just rub a piece of chalk sideways across the surface for conditioning, wipe away the residue with a damp rag, and pull up a chair to admire your handy work.
Give yourself a hardy pat on the back for a job well-done and invite all your friends to commend you on this stunning addition to your modern dwelling. Oh, and please feel free to share or re-publish, but give me credit for my work when you do!
Oh, and in case you were wondering about that witty title, my darling web-designer husband, whom I love dearly and does a fantastic job of maintaining my blog for free and with an amazing penchant to turn my profanity-laced web-design intentions into a reality, has a habit of secretly munching away any ingredients purchased for dinner recipes. Hence the need for a large fridge-adjacent reminder of exactly what is not to be eaten!

